Manufacturing secrets
We've been designing and manufacturing quality children's shoes since 1870. Our expertise has been passed down from generation to generation. From the first sketches to the final product, a single model requires more than 200 different stages of production. Sometimes unexpected, always demanding. We wanted to share a little of our passion for this exceptional profession.
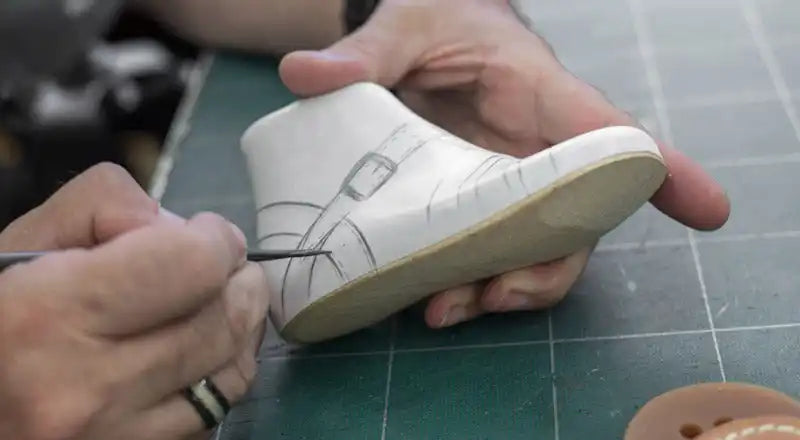
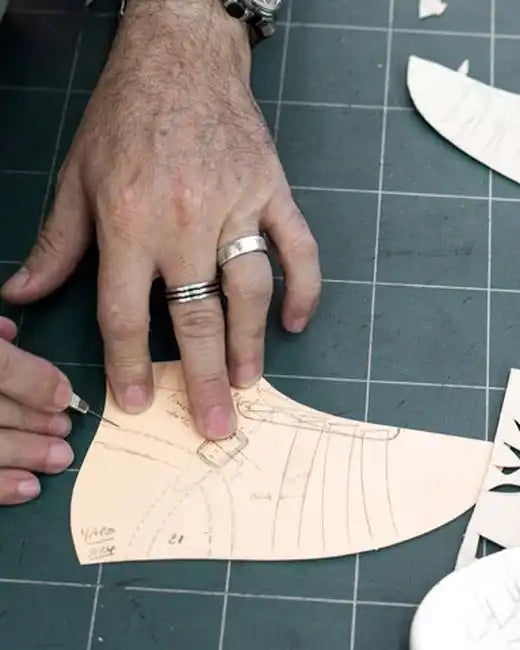
The drawing on form
It all starts with expertise in the last. The initial idea of the shoe must be materialized in the form of volume. This step is essential and extremely precise. The width of the fit, the volume of the instep, and the degree of front rise are all characteristics to take into account. : to the millimeter ! Then, a plastic shell is molded onto the shape to allow the pattern maker to design the stem.
From the sketch provided by the design office, the pattern maker will reproduce the upper on the last using a fine graphite pencil. Years of experience are required to acquire the precision required for drawing on a last. The shoe will be identical in every way to the result obtained, down to the smallest details.
The patronage
An adhesive canvas is applied to the last. This will allow all the elements of the upper to be transposed transparently. Carefully peeled off, the canvas is then applied flat to cardboard. After carefully cutting each piece, the shoe pattern is obtained.
THE CUTTING
The elements obtained will allow the cutter to cut each piece of leather that makes up the upper of the shoe. This includes the inner linings. After making the pattern for a given size, called a base, the dimensions of the pieces needed to make adjacent sizes are obtained by grading. Several close bases are essential for producing a range of sizes, as the morphology of the foot changes enormously in the first few years. Each of these bases will be the subject of a last design and a pattern. When the first sample is assembled, several fittings are carried out to check the shape of the model and the accuracy of its fit. This is called "Fine-tuning". The pattern maker will make any necessary modifications to the basic pattern.
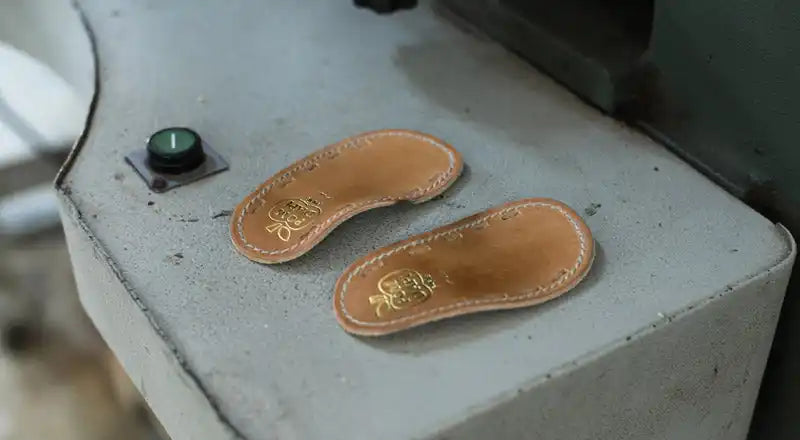
Towards the bite and assembly
To summarize these various stages: the idea is materialized into a shape, on which the pattern maker draws the upper. From this drawing is created a pattern from which all the pieces of the upper are cut. At the same time, the insole is also prepared. By adding the other elements that can make up the model, such as the counter and the toe cap (rigid pieces that are placed respectively at the heel and at the front of the shoe between the lining and the leather) or the closing elements (zip, buckle, eyelets, etc.), the model is ready for stitching and assembly.
All the separate elements that make up the shoe are prepared; now they need to be assembled together. The upper is the first part to be constructed. A final preparation step is then necessary for the leather pieces that will accommodate a specific strap or lacing.
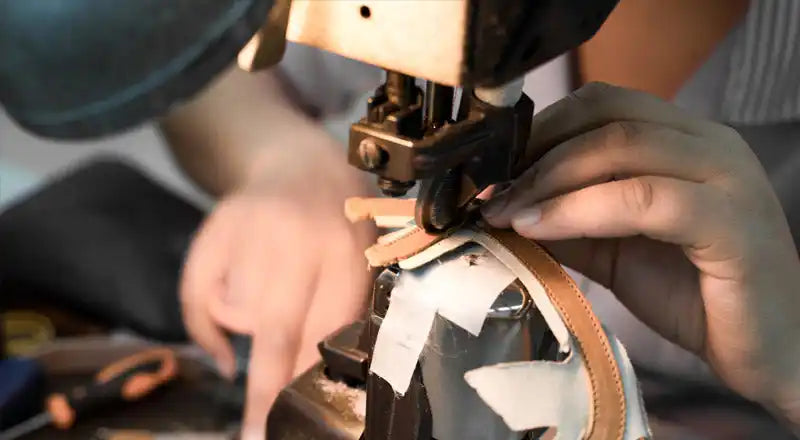
The bite
The pieces of leather, both exterior and lining, that make up the upper are assembled in the stitching workshop. Stitching requires great dexterity and precision in every move by the stitcher to ensure a quality result. The upper is then positioned on a plastic form, ready for assembly.
The assembly
Mounting involves joining the upper and the insole. There are different types of mounting, each with its own specific characteristics depending on how the upper and insole are assembled.
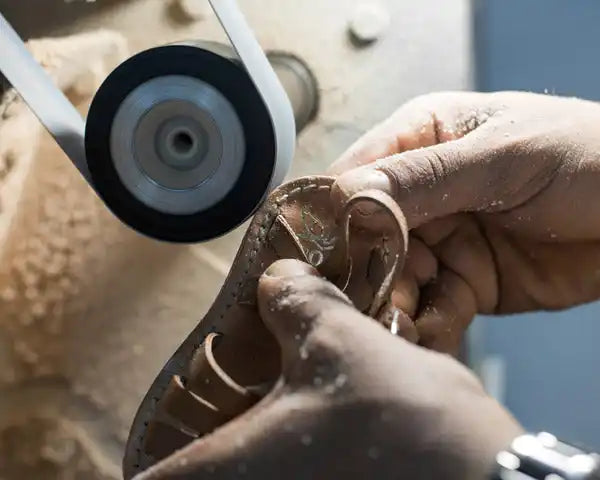
In parentheses
From stitching to assembly, a multitude of operations follow, which we haven't mentioned. Yet each of them has a required place within the manufacturing process. For example, once the upper and lining are assembled, all the edges are hand-dyed, with a brush, using a mixture of natural dyes similar to the color of leather. This meticulous attention to detail fully contributes to the quality of a product.
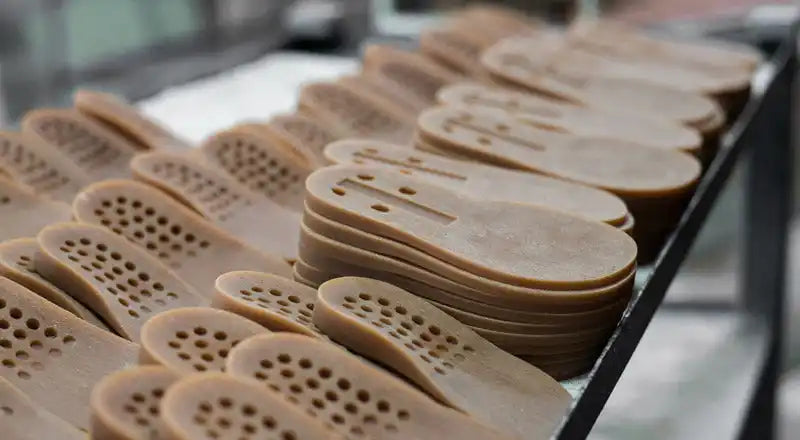
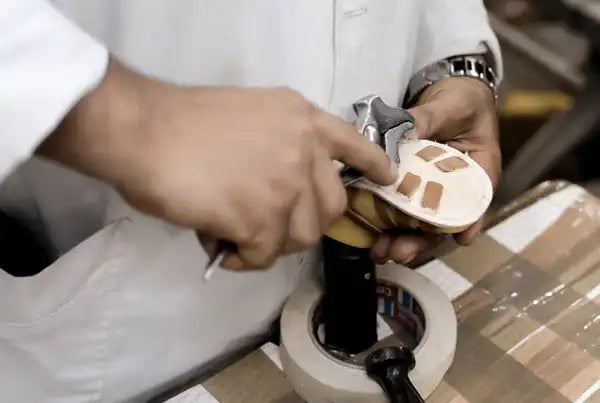
Construction
The final manufacturing step involves assembling the outsole, or walking sole, to the newly formed upper-instep assembly. In the case of a traditional assembly, the outsole is attached to the upper using a bonding process. This is called welded construction. This requires a great deal of precision and preparation in advance to ensure a perfect sole-upper connection. Carding, for example, is an operation that involves lightly sanding the underside of the insole before placing it in the oven to promote glue adhesion.
The insole is held on the last by adhesive strips. The upper then fits the last and covers this insole. The whole is then hot-glued. Once cooled, this assembly is either glassed or carded depending on the need. A filling action with leather or cork completes this operation to make the whole homogeneous. Next, the sole and the insole are glued and then left to rest to release the solvents. Finally, these two elements are assembled and the glue reactivated then pressed
Finishing
The pair is then cleaned and polished by hand depending on the final appearance desired for the leather. All of these different processing operations are called finishing or finishing.
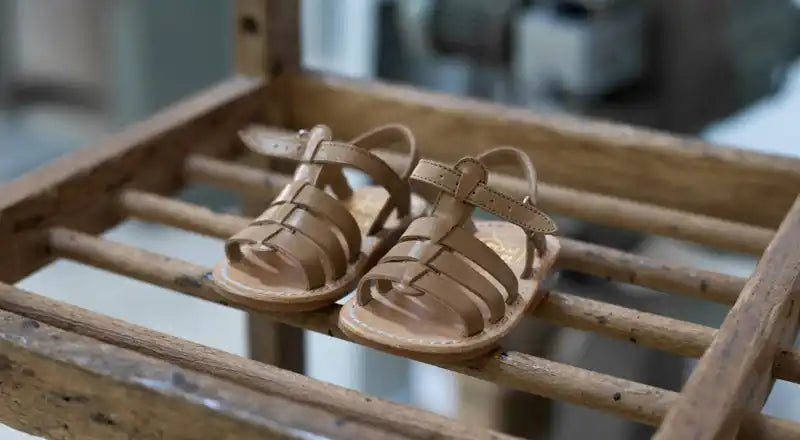
Box
Once finished, the pair of shoes is meticulously inspected to ensure they are free of manufacturing defects. Then, they are carefully wrapped in tissue paper and boxed, thus sealing the more than 200 steps that went into their creation.